DNA gel electrophoresis is a foundational technique in molecular biology that allows researchers to separate and analyze DNA fragments based on their size. Whether you’re a student in a biology lab or a seasoned researcher, understanding the step-by-step protocol for DNA gel electrophoresis is essential. In this comprehensive guide, we’ll walk you through the entire process, from sample preparation to gel staining.
Materials and Equipment
Before starting the protocol, gather all the necessary materials and equipment:
– Agarose powder
– TAE (Tris-acetate-EDTA) buffer
– DNA samples
– Loading dye
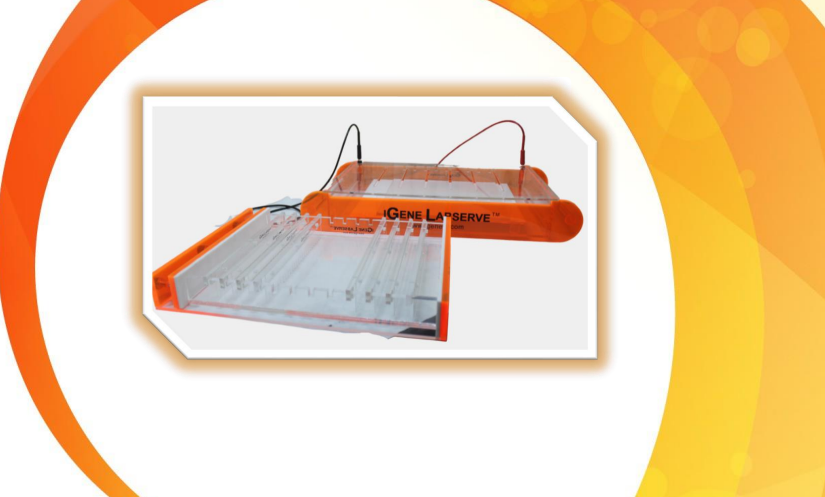
– Electrophoresis chamber
– Gel comb
– Gel tray
– Power supply
– DNA ladder
– UV transilluminator
– Gel documentation system
Step 1: Prepare Agarose Gel
1.1. Measure the required amount of agarose powder based on the desired gel percentage (usually between 0.7% to 2%).
1.2. Mix the agarose powder with the appropriate volume of TAE buffer in a flask.
1.3. Heat the mixture in a microwave or on a hot plate until the agarose is completely dissolved.
1.4. Allow the agarose solution to cool to around 60°C before pouring it into the gel tray.
1.5. Insert the gel comb into the agarose solution and let it solidify to form wells for sample loading.
Step 2: Prepare DNA Samples
2.1. Mix each DNA sample with an appropriate volume of loading dye. The loading dye helps in sample loading and provides color for tracking the migration during electrophoresis.
2.2. Gently mix the samples and briefly centrifuge to ensure proper mixing.
2.3. Heat the samples at 95°C for 5 minutes and then place them on ice. This denaturation step ensures that the DNA strands are fully separated.
Step 3: Load the Gel
3.1. Carefully remove the gel comb, leaving wells in the solidified agarose gel.
3.2. Place the gel tray into the electrophoresis chamber and fill the chamber with TAE buffer until the gel is fully submerged.
3.3. Load the DNA ladder into one well and your DNA samples into the remaining wells.
3.4. Connect the electrodes to the power supply and set it to the desired voltage.
Step 4: Run Electrophoresis
4.1. Turn on the power supply and run the electrophoresis until the dye front reaches the desired distance. The time and voltage will vary based on the gel percentage and size of the DNA fragments.
4.2. Monitor the migration progress, ensuring that the samples are separating effectively.
Step 5: Stain and Visualize
5.1. Turn off the power supply and carefully remove the gel from the chamber.
5.2. Stain the gel with a DNA-binding dye such as ethidium bromide.
5.3. Place the gel on a UV transilluminator and visualize the DNA bands.
5.4. Document the results using a gel documentation system.
Congratulations! You’ve successfully completed a DNA gel electrophoresis. Analyze the band patterns to determine the sizes of your DNA fragments. This protocol serves as a fundamental tool for various applications, including DNA fingerprinting, PCR product verification, and genetic research. Mastering the steps outlined here will empower you to explore the diverse realms of molecular biology. Happy gel electrophoresis!